Follow these simple steps to build and launch your first application with AppNatively.
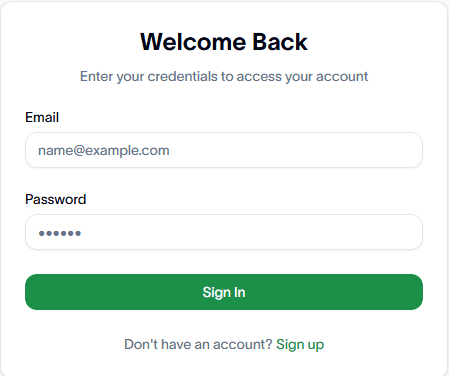
Step 1: Sign in to your account
Log in to your AppNatively account using your registered credentials.
Step 2: Create a new application
From the Dashboard, click either Quick Create or Create Application to open the application creation modal.

Step 3: Provide application details
Enter the required information for your application:
- App Name – A unique name for your app.
- Niche – Select or specify the category that best matches your application.
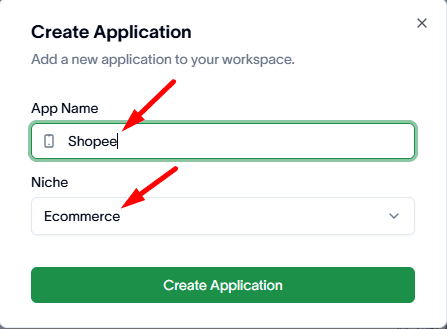
Once completed, proceed to the next step.
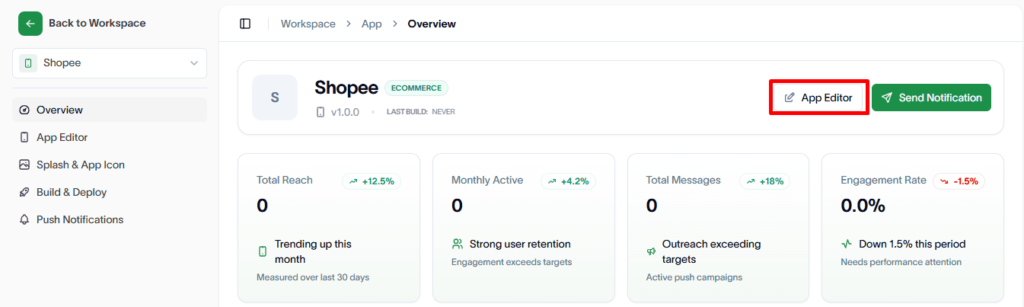
Step 4: Open the app editor
After creating the application, you will be redirected to the App Editor page, where you can customize your app’s structure and functionality.
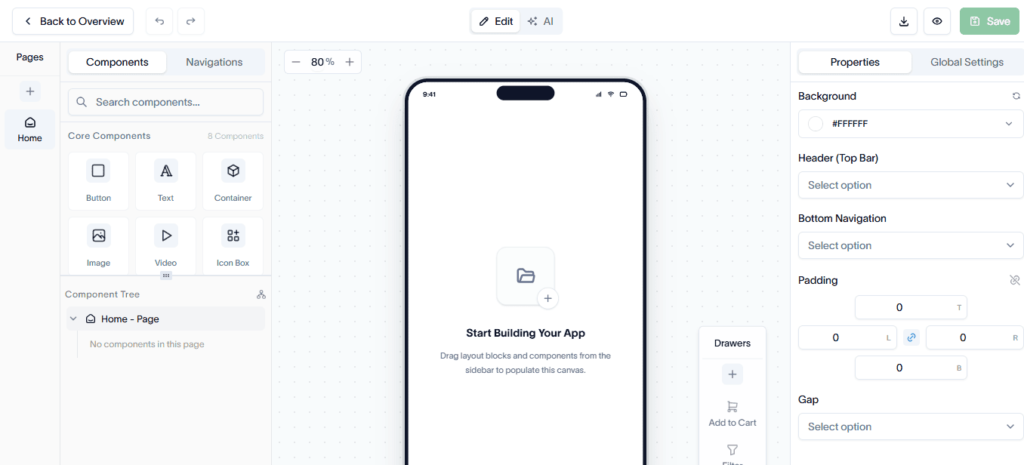
Step 5: Build your app
Use the drag-and-drop editor to add and arrange the components required for your application.
- Drag components from the component library.
- Drop them into your desired layout.
- Configure component settings as needed.
- Click Save to store your changes.
Step 6: Prepare for publishing
Your application is now ready for publishing. Before publishing, review and refine your app to ensure the best user experience.
Consider:
- Updating content and branding.
- Testing navigation and functionality.
- Verifying layouts across different devices.
- Reviewing app settings and configurations.